This is another one of those projects that I saw on the Urban Outfitters website (here), and immediately thought to myself, “Damn, I could make that!” Last week I was looking forward to making it, but just couldn’t fit it in my schedule until today. Sometimes when I can’t immediately make something that’s on my mind I get a bit obsessed until I get a chance to try it out, and that’s what happened with this top. Maybe because of all of the mental planning, it turned out exactly as I’d hoped. I think it’s really cute, and it hits two of the big trends for spring/summer: stripes and open backs/cutouts. If you have a striped tee you want to spice up it won’t cost you anything, otherwise I recommend that you hunt for a suitable specimen at your local thrift store. Mine was only $4.50, plus about an hour of cutting and sewing, but you can probably do it faster if you’re not taking pictures of the process.
Materials:
Striped t-shirt
Scissors
Needle
Thread
Sewing machine
Chalk
Methods:
1. Grab your shirt and flip it over to the back. Starting at the edges of the collar, draw a long scoop shape about 6 inches wide and 17 inches long. My markings are kind of hard to see, sorry!


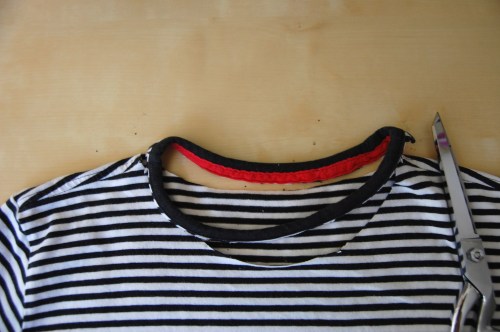
2. Cut the shirt collar completely off and discard it.
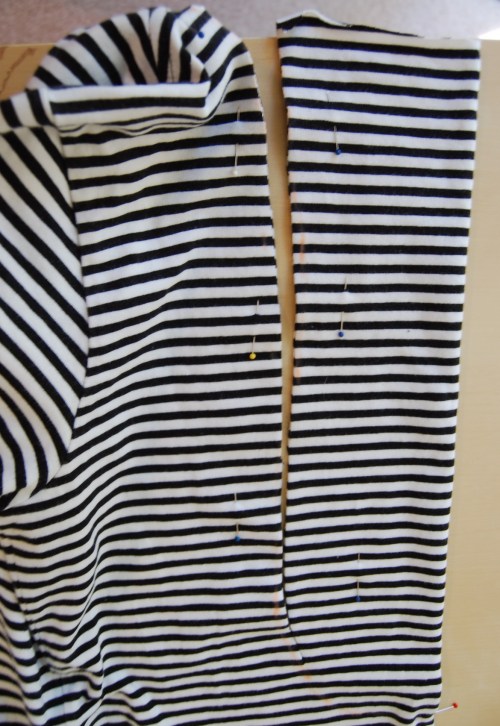
3. Find the center of the back of the shirt. Fold the back half of the shirt lengthwise, insides together, so that your scoop shape is folded in half symmetrically. Make sure that you keep the front half of the shirt separate. Pin in place.

4. Carefully cut out your scoop, then hem the edges of the collar and the cut-out section.

5. Take the piece you cut out of the back and cut it in half lengthwise, then widthwise, leaving you with four pieces that measure about 6 inches by 3 inches each.


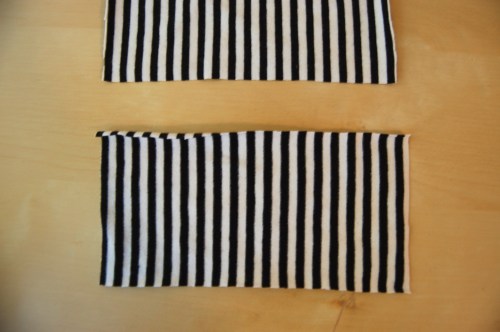
6. Hem the edges of three of the four pieces you just cut. Take the last unhemmed piece and cut it into four smaller pieces as you did with the large back piece. Hem the edges of three of these smaller pieces.

7. Wrap the smallest hemmed pieces around the middle of your larger hemmed pieces to make three bows. Pin in place and sew the back of the center loop closed by hand, tacking it to the center of the larger bow piece.
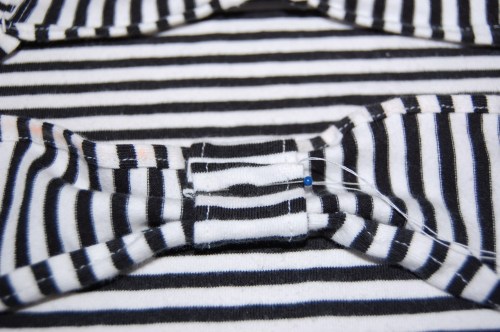
8. With your shirt inside-out, pin the bows at the edges of the back cut-out, about 2 inches apart. Sew in place.
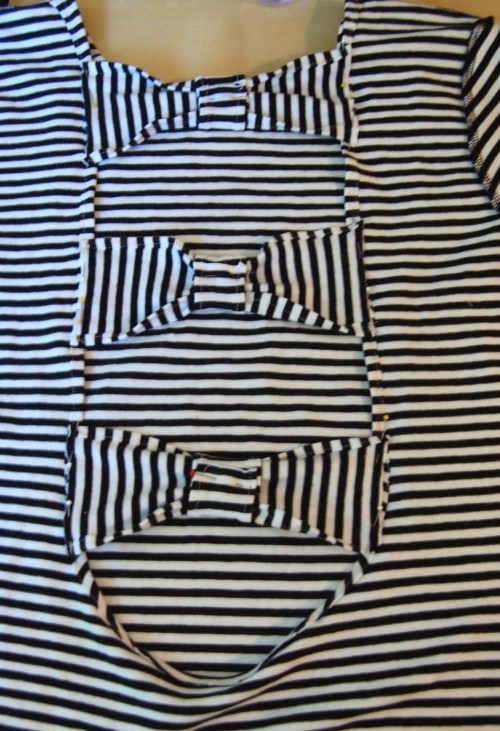
9. Try on your new shirt!


I can’t wait to wear mine out, although I’m not sure what to do about the bra situation unless I wear my strapless stick-on bra.
Looking for more tutorials and DIY projects? Check out my DIY Projects page!


That’s simply awesome!!!!!
Thanks Julie!
Wow- this is a wonderful refashion. I love it! Thanks so much for the details, I’ll be linking.
Wow! The finished product is so cool!
Love this! I think I’ll have to make one!
Thera
Thera, I hope you do! I’d love to see it.
I absolutely love this idea and have just the shirt to do it with.
very cute! Found you on the chic steals roundup.
~L~
AvidAccents.blogspot.com
Look at how fabulous that turned out! I can’t even tell the difference between this and RTW! Such a great job – and thanks for linking!
xoxox
Carly
http://www.chic-steals.com
Carly, thanks! And thank you for hosting the DIY round-up!
Looks nice, I like the optic of the turned-around stipes in the bows a lot.
And just forget about the bra, unless you’re running you don’t need one;)
That’s pretty cool. I’ve seen those shirts everywhere and it’s crazy how much a shirt so simple costs so much.
Oh my gosh, this is really super cute! Great job. It would be adorable with a red skirt…
Thanks Andrea, glad you like it!
holy cow this is wonderful! i saw a blouse like this on the UO site about a year ago and thought the same thing, but couldn’t figure it out then! thanks lady 🙂 keep it up!
OMG this is to die for. I loove love looooove this. I def wanna try to make this cutie when I get the chance too. I love open backs and bows so this is killing two birds with one stone for me 🙂
May I blog about this— of course linking and giving credit!
Hey Jenna, thank you! And of course I’d be delighted if you wanted to blog about my project. A couple of people have suggested trying to cover a bra strap with one of the bows, but I didn’t think of that before I made it. I’d like to make a dress version, so maybe I’ll try it with that one. I hope it works for you!
I think I may match my bow pieces up with where it hits my bra in the back when I make mine… this could fix the bra situation. May or may not but I”ll try it and let ya know– even if it covers it a bit or where a color bra that fits with the color scheme…
thanks.. i cut up my ex’s shirt and made a cute wearable t.
Yay, so happy to hear that!
Have someone safety pin the back of you bra to one of the bows so it doesnt show :).
I’m going to try this soon, you did an amazing job – looks like you bought it at Urban! 😉
Wow this is so awesome! I thought I will never find any tutorials on how to make these! Thank you!
Could you possibly take a picture of what the shirt looks like on you but from the front please 🙂