Paper rosettes are also known as paper medallions, and they are great as party decorations. When I began trying to figure out how to make them, I discovered that there are several different methods. I experimented with a couple, and they give you slightly different results, so I’ll show you one method today, and the other later this week.
Materials:
Paper (12″ by 12″)
Scissors
Glue stick
Ruler
Glue gun
Thread or string for hanging
Hole punch (optional)
Gridded cutting mat (optional)
Methods:
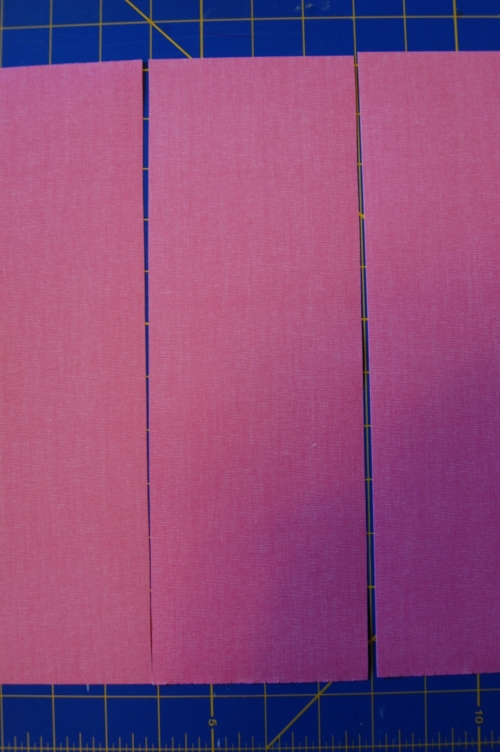
1. Measure and mark your paper into three strips, each 4″ wide by 12″ long. I am using lightweight scrapbooking paper that is 12″ by 12″ and white on the back side. Heavier paper will work, but the heavier it is the more difficult the folding will be.

EDIT: After making many of these, I realized that accordion-folding the paper first and THEN cutting it into thirds is much faster. So just switch steps 2 and 3 to save a lot of time.
2. Cut your paper along the lines you just measured.

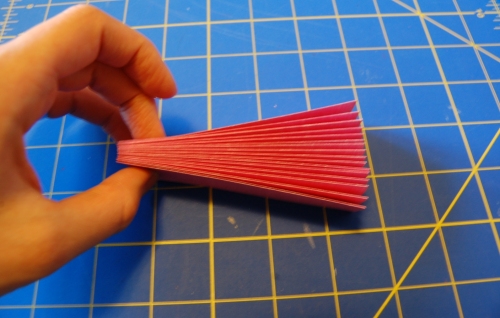
3. Fold your paper accordion-style with folds every 1 inch. This is where a 1-inch gridded board comes in handy, but if you don’t have one, just use a ruler or mark out a grid as a guide on a large sheet of paper. If your paper has a “wrong” side, begin with this side up, and fold towards you, as I’ve shown, so that later when you glue the pieces together you can hide the wrong side.

4. Continue until you’ve folded the whole strip, then score your folds with a bone folder. Just kidding, who has ones of those, other than Martha Stewart? Use the edge of your ruler, or your fingernails.


5. With the right side of your paper up, take one strip and spread glue along two of the folded sections (one “mountain” fold). Take another strip and overlap two folded sections over the glue. Repeat with the third strip so you have one long strip.


6. Fold up your strip and put it under something heavy to dry for at least 20 or 30 minutes.

7. Glue and overlap the ends of the strip to create a circle, and let the glue dry.

8. Squish your paper circle at the center, like so (yes, an animated gif was totally necessary):

9. Warm up your glue gun and put a big dollop of hot glue in the middle of the hole on the back of your rosette. Let it dry.

10. Punch a hole in one edge of the rosette, and add a piece of thread or string to hang it by.


All done!

Now make a bunch more and put them into pretty arrangements!

For the largest one in this photo, I actually used four 6″x12″ strips (two pieces of paper). The small polka-dotted one was made using a different method, which I’ll show you later this week. If you want to get fancy, before you add the hot glue to the middle, punch holes equidistant to the center. You can see I actually did that to the pink one in the group shot.
You can also cut the ends of your accordion-folded strips into points, or round them off, so they end up looking more like these from BHLDN:

Just by using patterned paper you can achieve tons of different looks with these. Happy decorating!


Love these. So many looks you can achieve with different paper. I’m definitely going to give this a try. Thanks!!