If you’ve been following my blog for more than a couple of months, you might remember that I got married in July. Ever since then I’ve been waiting to share the professional shots from the wedding. We still don’t have the high-res images (not really sure why…the photographer is not communicating), but I snagged some screenshots from the online gallery of our wedding images.
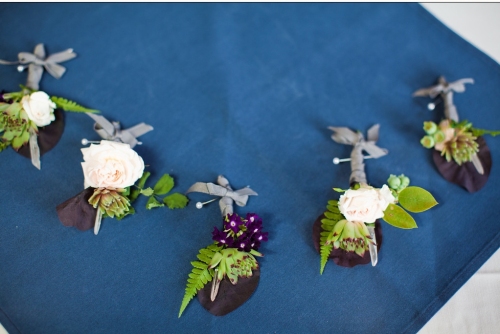
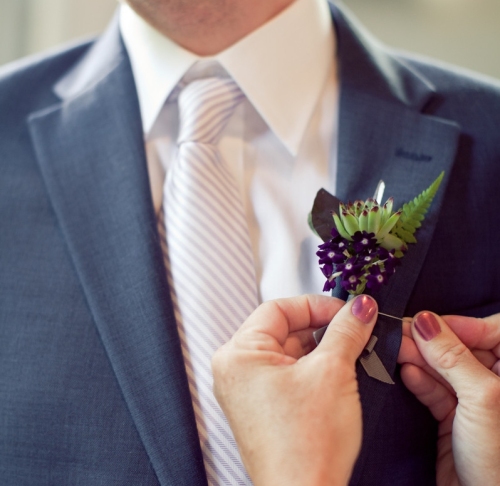
These are the boutonnieres I made for Steven and the male relatives. We didn’t have any bridesmaids or groomsmen, but I wanted to make something for the menfolk to wear. Despite the fact that I was super rushed when making them, I really really love how these turned out. Each one is slightly different.
Most of the plants were just ones my parents had growing in their yard, except for the succulents, which I purchased at a local garden store. Since succulents don’t really have a stem, I cut off the heads and stuck a skewer in them to hold them up. Then I arranged the rest of the elements so that they helped cover up the skewer.
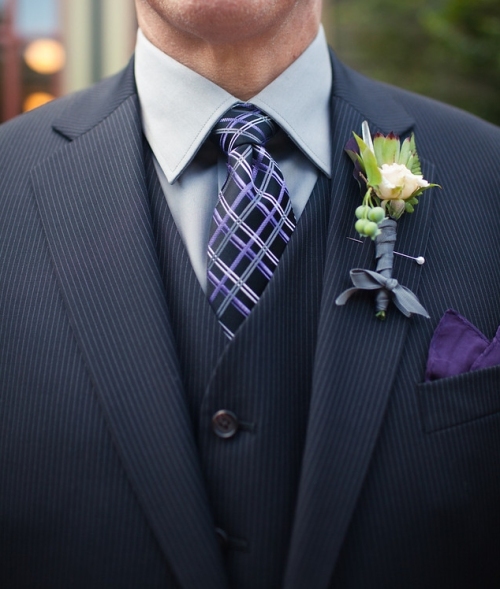 My dad’s. He loves blueberries so I used some unripe berries from the bush in their yard.
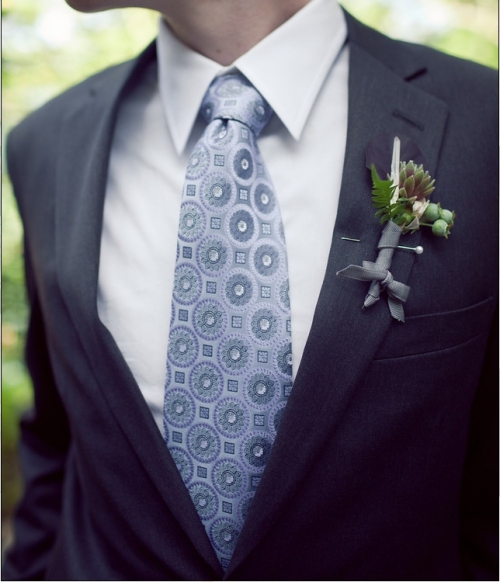 My brother Patrick’s boutonniere

My favorite part of these is the little crystal point in each one. I ordered these, which I highly recommend. I don’t know anything about their healing properties, but they were perfect for this project. Want to make your own? Here’s how I did it.
Materials:
Toothpicks (the thicker, round party kind)
Small crystal lasers/points
Masking tape
Floral tape
Assorted flowers and decorations
Methods:
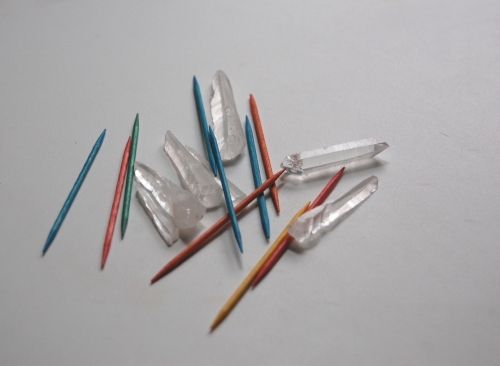
1. Take your crystal and toothpick and overlap them slightly on top of a piece of masking tape a couple of inches long. Wrap the masking tape around the toothpick and crystal several times until they seem secure.
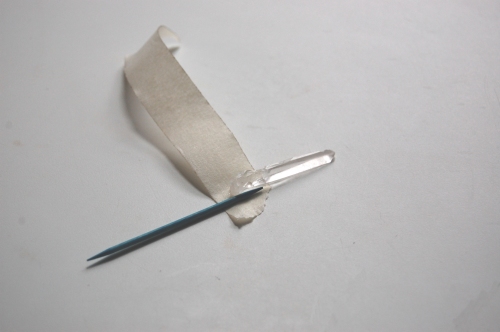
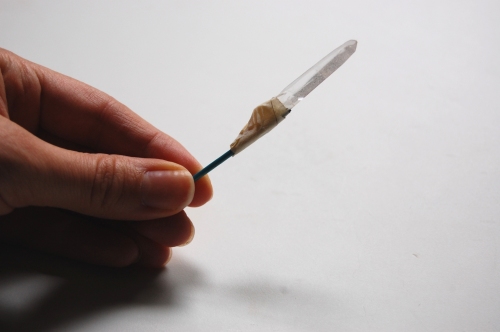
2. Wrap green floral tape around the masking tape to help it blend in.
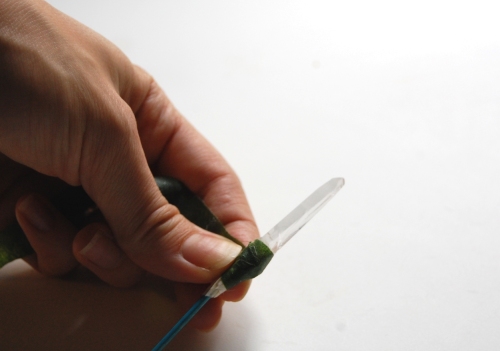
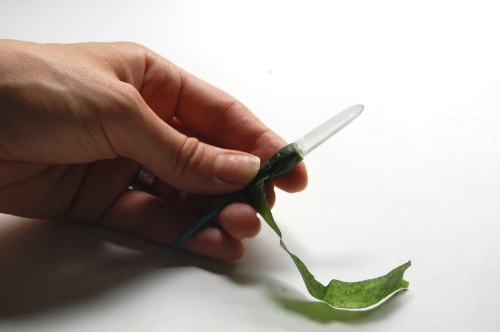
3. Now add whatever greenery and decorations you want and secure them with floral tape. For my wedding ones I made them the day before the event and used real flowers and plants, but for this example I used some vintage fake flowers and feathers. Try to arrange the other elements so they hide the base of the crystal and toothpick.
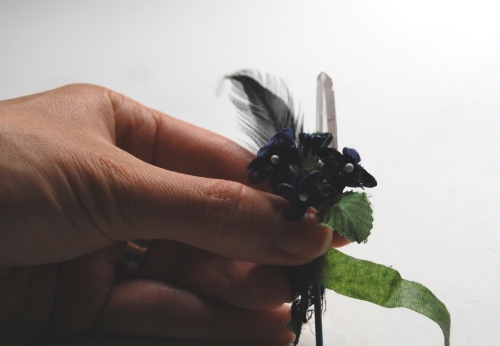
4. Wrap ribbon around the base and break off the end of the toothpick if it’s too long, and you’re done!
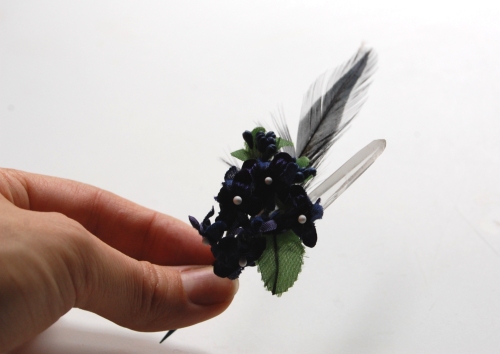
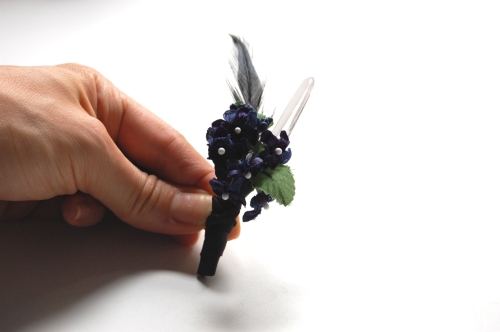
Super easy and pretty fabulous, right? For another easy DIY boutonniere tutorial, try this one at A Beautiful Mess.



Congrats on getting married! I got married in June and also I don’t have my photos yet…not because of the photographers…just haven’t been able to purchase the digital negatives yet. The boutounniere turned out great! My goodness your are crafty! They really do look great~
Not sure why my name keeps getting cut off…Monique*
WOW- those are stunning! I love everything about these boutonnieres so much! Thanks tons for letting me know about them, I’ll be linking in my next Butonniere Roundup!
Thanks, Rachel!