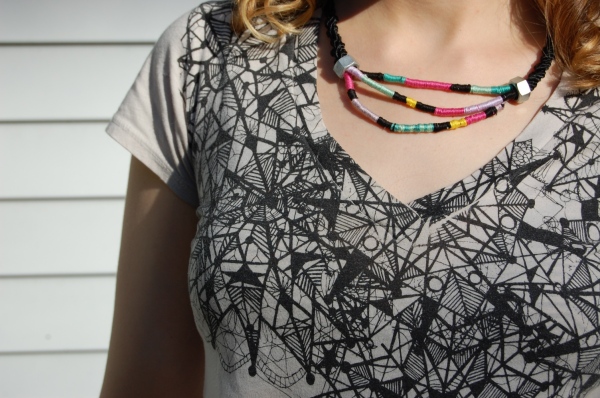
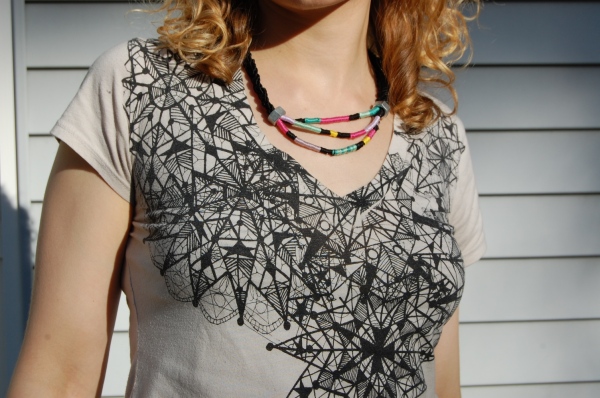
A while ago I made a rope necklace, but this one is quite different and is inspired by a new crop of designer necklaces, which have kind of a techno-tribal feel. Despite the lengthy instructions, these are pretty easy to make yourself, and the best part is that you make them in whatever colors you choose.

Clockwise from top left: Mara Hoffman Spring 2012, Holst + Lee necklace, Philip Lim, Mara Hoffman Spring 2012, Free People, Unknown (Pinterest)
Materials:
Black rope trim, at least 66 inches
Embroidery thread, assorted colors
Conical endcaps
Wire
Beads
Tape
Scissors
Needlenose pliers
Glue
Nuts
Chain
Clasp
Jumprings
Methods:
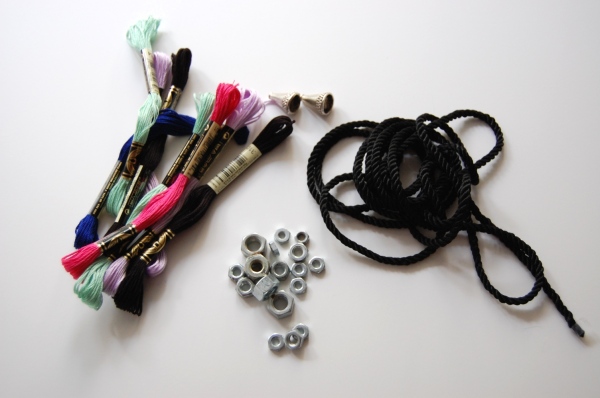
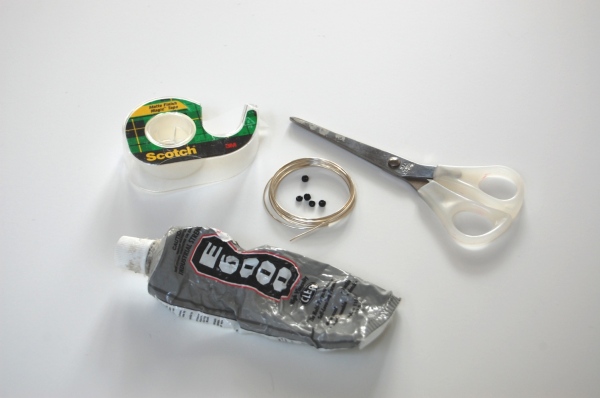
1. Cut 3 pieces of rope, each 22 inches long. Put a piece of tape on each rope end before you cut it to keep it from unraveling, and tape all three pieces together (I used clear tape but I actually recommend masking tape because it’s easier to remove.)
2. Braid the rope until you have about 5 inches of braid.
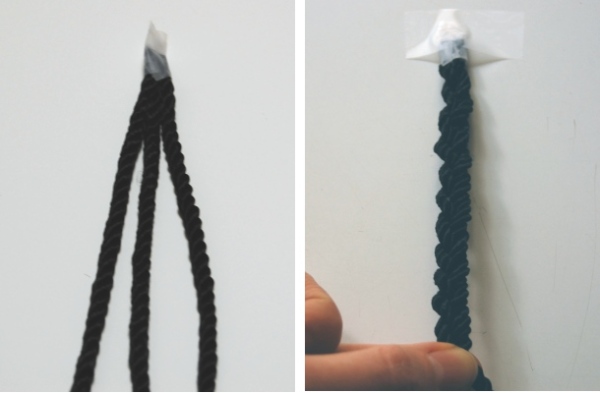
3. Tie a piece of black embroidery thread around the ends of the braid to secure it, then use that thread to begin wrapping the rope.
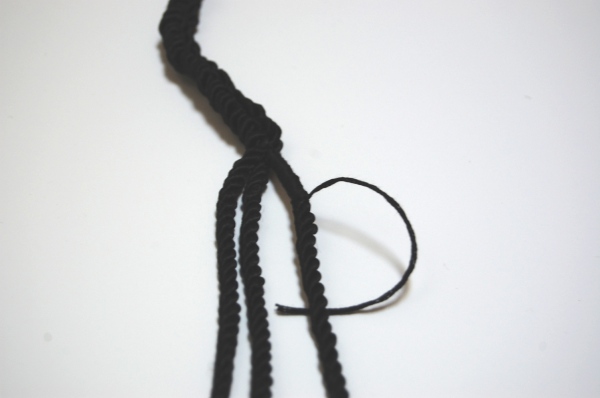
4. When you want to switch colors, tie a piece of the new color to the old one with a square knot and wrap over this knot to hide it.
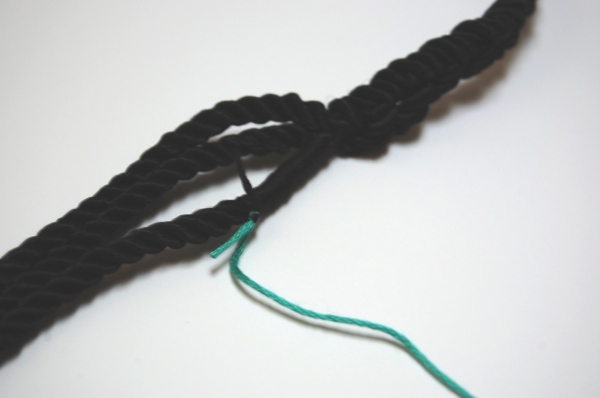
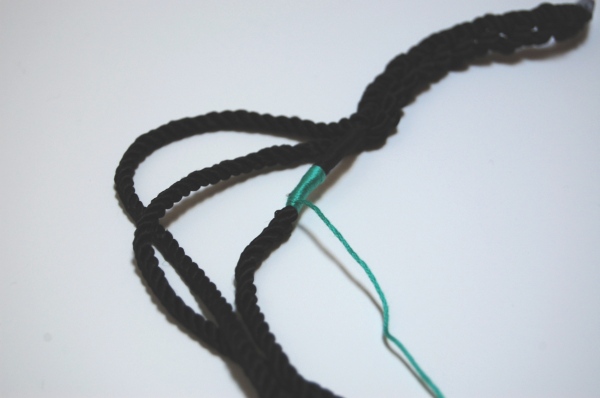
5. Continue wrapping with various colors until the wrapped area reaches 4 inches. Then wrap the middle rope until you have 5 inches of wrapped rope, and the bottom rope until you have 6 inches of wrapped rope.
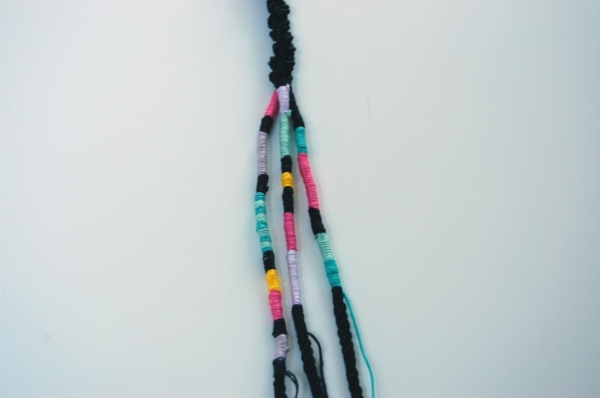
6. After you’ve wrapped segments of all three pieces of rope, fasten the ends of the wrapped areas together with a piece of black embroidery thread.
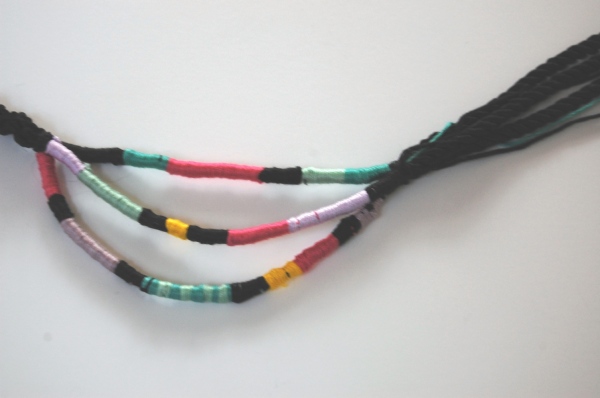
7. At this point you can slip large nuts (or beads) onto the rope to cover the spot where the three ropes converge.
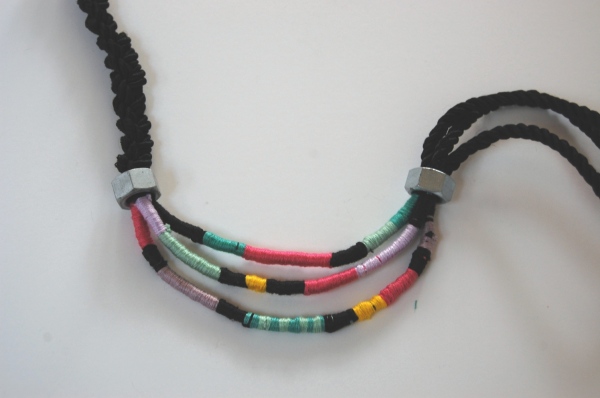
8. Braid the three loose ends together until they’re the same length as the other braid, about 5 inches. Tape them together and cut the rope.
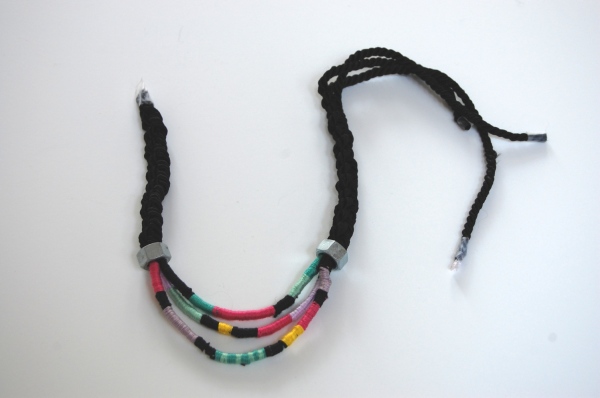
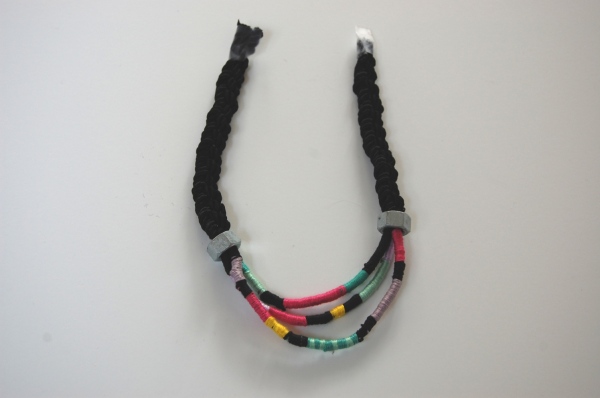
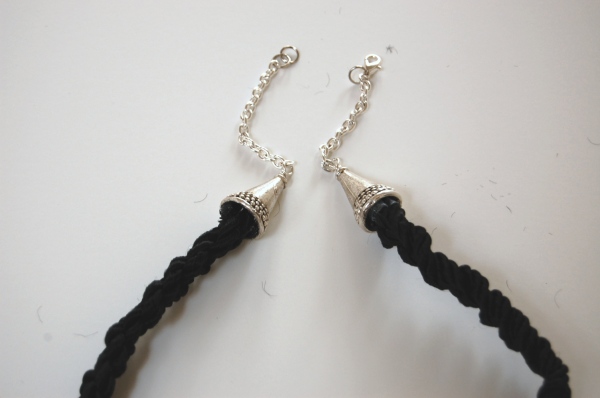
9. Now you’re going to make your endcaps. Take a piece of wire about 1.5 inches long and use the needlenose pliers to make a little twist on one end. Slip a bead on that won’t fit through the small endcap hole, and stick the wire through the end. Then create a loop and attach 2 inches of chain to this loop. Repeat for a second endcap.
10. Using jumprings, attach a clasp to the end of the chain on one endcap, and attach a few jumprings onto the end of the chain of the other end.
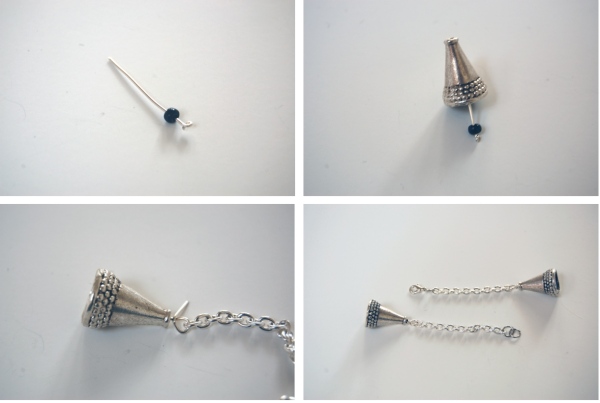
11. Fill your endcaps with glue (I like E6000), and stuff in the rope ends. Let dry.




Ohhh, pretty! I love rope necklaces. They take me back to the days of making embroidery floss bracelets as a teenager.
(In fact, I once wrapped a strand of my hair in floss and beads. It looked pretty cool, but it took hours and hours to undo. Next time, I’ll just use a clip-on.)
Sarah, me too! And yikes, I can’t imagine unwrapping one from my hair. I think I’d get too impatient and just cut it out.
Oh goodness, I’d forgotten about those hair wraps. They were quite a thing when i was in high school. Love your use of the nuts as a design element!
I am in love with Holst + Lee, but they totally cost a fortune! Thank you, thank you, thank you for the DIY tutorial! I am definitely going to try my hand at making a necklace for spring. Just a quick question: Do you put the rope ends in the end clasps with the tape still on? Or do you remove the tape first?
baconbiscuit212: Glad to help! I put the rope ends in with the tape on, but this was mostly because I used clear tape and it was too hard to get off without causing the rope to unravel. In restrospect, I would probably fasten off the ends with black thread, instead of tape, and leave this on when I put on the endcaps.
Thank you for this tutorial! Love the necklace
Where can I find the black rope? Thanks