
I just made ring cones, so why do I need a ring dish? Well, in addition to rings, you can use these to store bracelets, necklaces, and earrings. Or any other little bits and bobs you might have sitting around–hairpins, paperclips, thumbtacks, whatever. Plus, if you add glow-in-the-dark paint, you’ll have no problems finding them in a dark room. The glow actually doesn’t last long, so if you keep one on your bedside table, it won’t bother you after you use its faint light to deposit those earrings you forgot to take off before bed.

Also, I still just love moon phases. They may be pretty common at this point, but if you’re not sick of them, either, a moon phase DIY ring dish is a fun and easy way to add more of the trend to your life.


Glow-in-the-dark paint is tough to photograph, but I managed to get this photo by hanging out in the darkest (and hottest) room in my house with a tripod. In real life the glow isn’t as bright, though.

Moon Phase DIY Ring Dish
Materials
Oven-bake clay in black and white – A 2 oz package of each will be more than enough for 2 ring dishes.
Aluminum foil or cardstock
Optional:
White acrylic craft paint
Paint brush
Glow in the dark paint

Tools
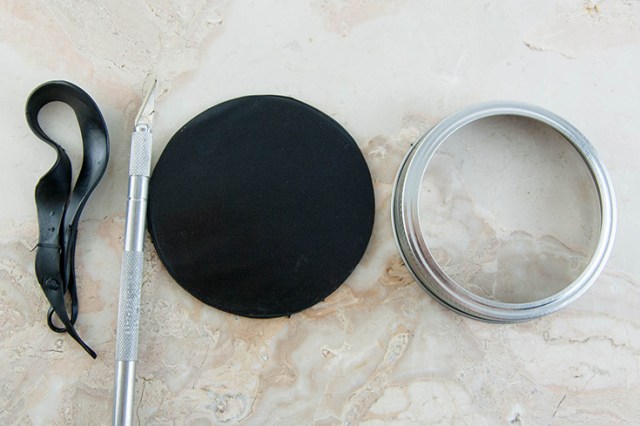
Clay roller or large jar for rolling out clay
X-acto knife
Baking sheet
Wide-mouth canning jar bands/rings, or round, oven safe dish about 3 1/2-inches in diameter
Oven
Steps
1. On a clean, smooth surface, like stone or tile, roll out about 1/3 of the package of the white clay into a sheet that’s as thin as you can get it, without it being too fragile to handle. Mine was about 1/16-inch thick. If it starts to tear, just ball it up and roll it out again.
Cut out moon shapes from the white clay. Place the mason jar ring, or whatever you’re tracing around, on the clay and cut around it with the X-acto knife, then cut a crescent shape from this circle. Set aside.

2. When you’re done cutting out the white moon shapes, move onto the black clay. You should do it in this order to avoid getting black clay into your white. Clean up any stray white bits of clay, and wipe down the surface with a paper towel. Break off about 1/2 of the package of clay, and roll it out into a sheet. I think mine was about 1/8 to 3/8-inches thick. Place the canning jar ring on the clay, and cut around it with the X-acto knife.
(To make the solid white dish, obviously just do this step with the white clay.)


3. Lay the white moon crescent on top of the black clay circle. Pick up the piece and gently squeeze the edges together around the diameter of the circle. Lay the piece flat again, and use your fingers to press down the white clay where it meets the black. Go over the whole thing a couple of times with the roller, but don’t roll it too much, or it’ll get bigger.


4. Turn the jar ring over, and put the dish inside. Place the piece on a baking sheet lined with foil or cardstock.


5. Bake according to the directions on your package. Mine said to bake at 275ºF for 30 minutes per 1/4 inch, so I baked mine for 20 minutes. Before the clay has cooled, and as soon as you can handle it, pop it out of the metal ring. (If it does get stuck, heat it up and it’ll get flexible again.)
You can call it done here, or after the clay has completely cooled, you can paint it. I chose to paint mine for two reasons: 1) I can never keep my white clay white. It gets dust and lint in it while I’m rolling it out, and ends up looking dirty. White paint can solve this. 2) I wanted a fun glow-in-the-dark effect for the moon crescents.
6. Paint the white clay with two coats of white paint, letting it dry for the recommended time between coats. Use a damp cotton swab or paper towel to clean up any stray paint smudges on the black paint before they dry.

7. After the white paint has dried, coat it with at least two coats of glow-in-the-dark paint.


