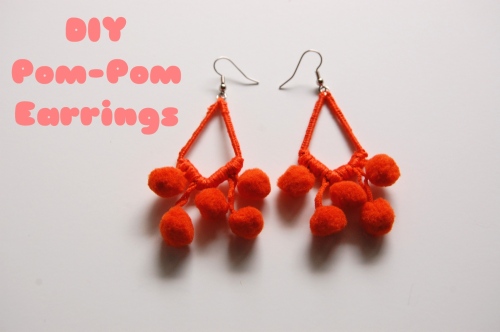
When I was looking for good examples of rope necklaces for my last tutorial, I came across these earrings from Mara Hoffman’s Spring 2012 collection, and I knew what my next DIY project would be. Not quite as big as the originals, these are still dramatic and fun, and they seem like they’ll be the perfect earrings to wear this spring and summer.

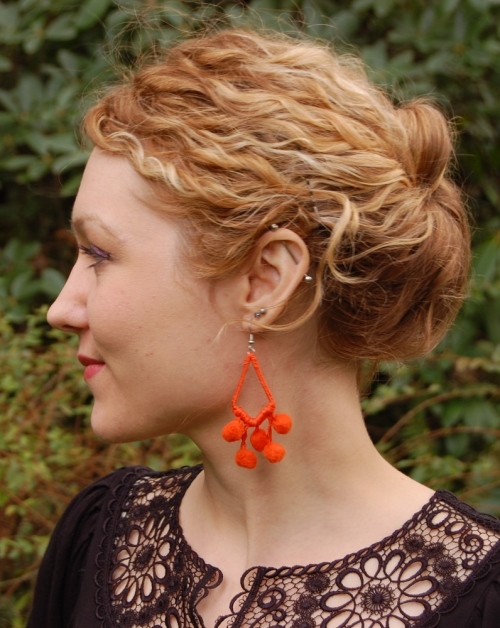
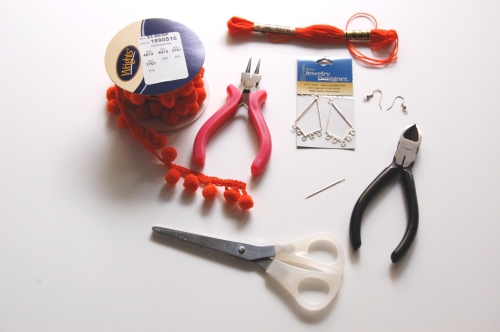
Materials:
Pom-pom trim
Matching embroidery thread
Needle
Chandelier earring form in a diamond shape
Earring hooks
Scissors
Clear nail polish
Pliers
Wire cutters
Methods:
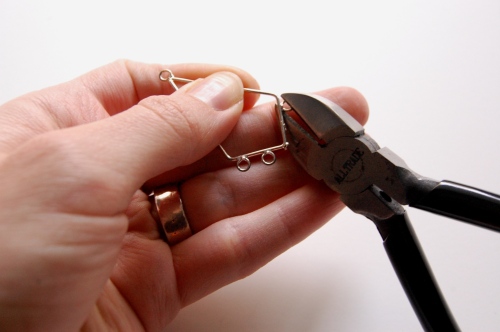
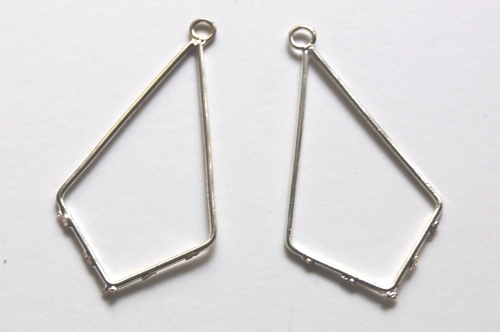
 1. If the earring shapes you are using have loops on them, carefully cut those off. (You should wear eye projection so a stray piece of wire doesn’t hit you in the eye!)
If you can’t find pre-formed diamond shapes, you could bend your own out of thick wire.
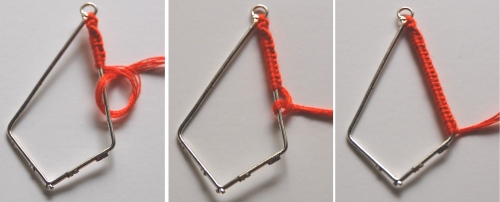
2. Cut a piece of embroidery thread about 16 inches long and tie it through the loop at the top and around one side of the diamond to secure it. Begin knotting the thread around the wire, pulling the knots tight, until you’ve completely covered one side of the diamond. Leave the thread attached.
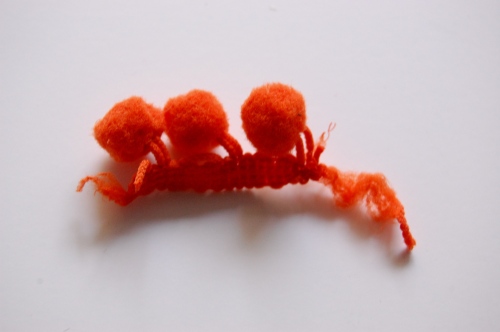
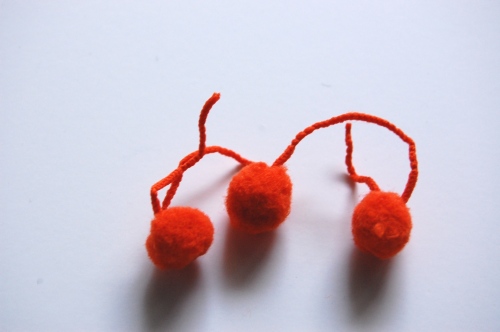
3. Cut a piece of pom-pom trim with three balls. My trim came with a little piece of tape on the end, and as soon as I removed it the trim started to unravel. In this case you want to cut a piece three balls long and unravel it until you have three balls on a string. You might have to do a bit of tugging and snipping, but don’t cut the string the balls are on. Repeat this step so you have two sets of three balls on a string.
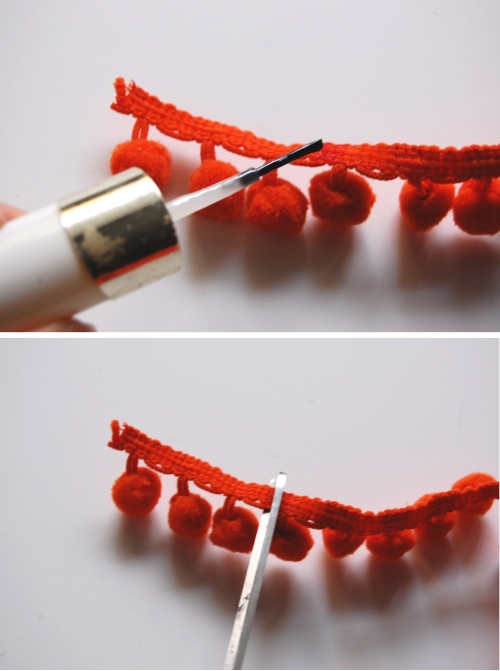
4. For the rest of the pom-pom trim, you don’t want to it to unravel, so coat the cut end in clear nail polish, and coat the region between balls three and four with nail polish and let it dry before cutting a strip of the trim. Repeat so you have two pieces of intact trim with three balls each.
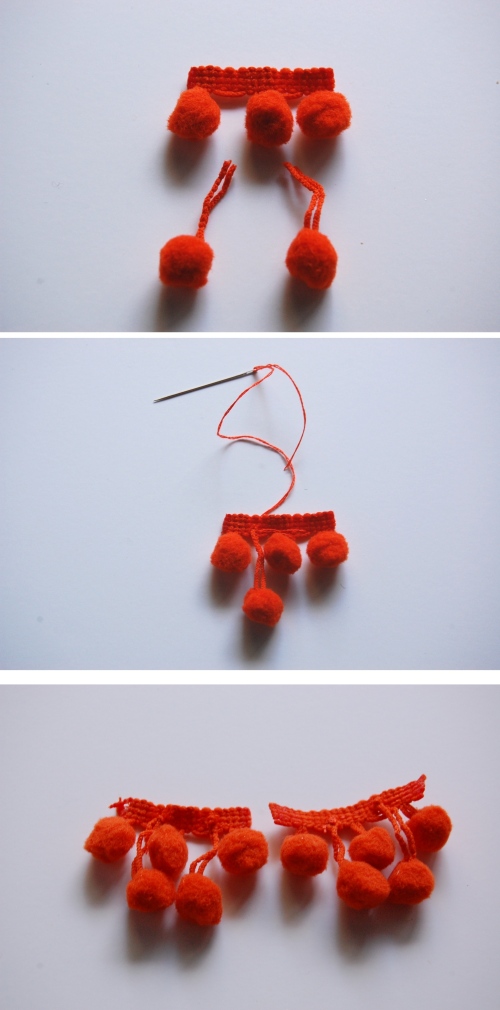
5. Take one of the sets of balls on a string and slide two of the balls around until they hang from two strings about twice as long as the balls attached to the trim. Cut them to that length. Repeat until you have four balls on longer pieces of string.
Thread a needle with embroidery thread and sew those balls to the intact trim.
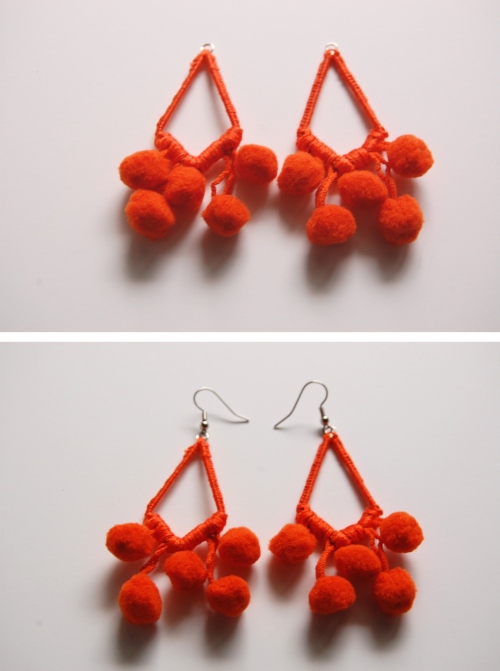
This is a bit hard to explain in words, but if you check out the pictures below it should be clear.
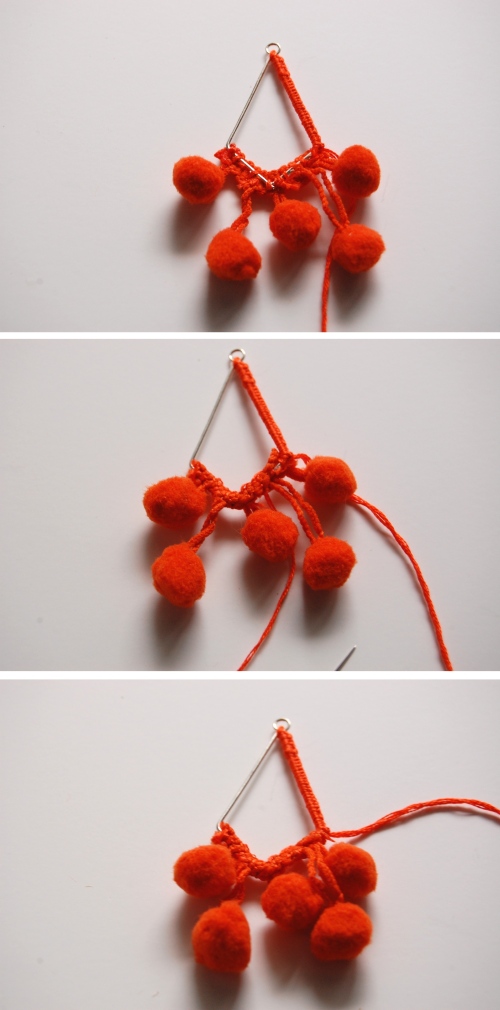
6. Place the earring form centered on top of the trim and sew it to the trim with a few stitches, then wrap the trim around the bottom of the diamond and sew the trim so it encases the bottom point of the diamond. Repeat for both earrings.
7. Now you’re going to tidy everything up by wrapping it in thread. Take the free thread you left in step 3, and wrap it around the trim you sewed on, leave the pom-poms dangling free. When you get to the end, knot the thread, use a needle to slip the end under the wrapped thread, and cut it.
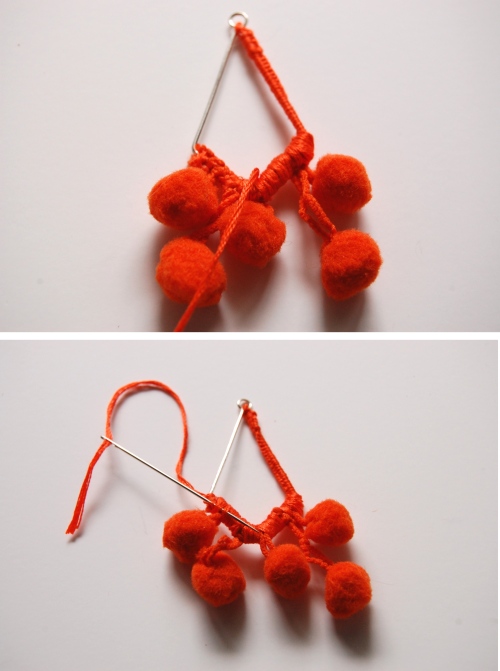
8. Knot around the other side of the earring form, and hide the end of thread like you did in the last step. Repeat for both earrings.
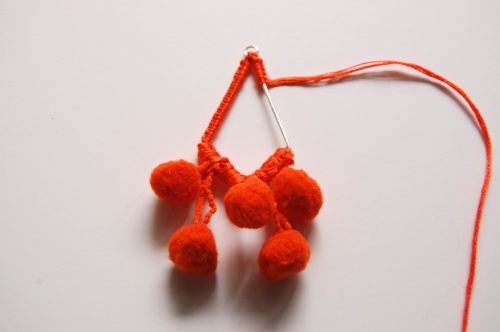
9. Add earring hooks using pliers.




This is cute & different! Nice
Wow I LOVE these! You did such a great job– they are perfect for the warmer seasons coming